DIY Home Energy Audit 2026: 7 Key Areas to Save Energy & Money
In an era where energy costs continue to climb and environmental consciousness is at an all-time high, understanding and optimizing your home’s energy consumption is more critical than ever. The good news? You don’t always need to hire an expensive professional to uncover where your home is losing energy. With a little time, effort, and the right guidance, you can conduct a thorough DIY Home Energy Audit yourself. This comprehensive guide for 2026 will walk you through 7 key areas to inspect, helping you identify inefficiencies, implement cost-effective solutions, and ultimately save significant money on your utility bills while reducing your carbon footprint.
A DIY Home Energy Audit is essentially a systematic inspection of your home to pinpoint areas where energy is being wasted. This could be anything from leaky windows and inadequate insulation to inefficient appliances and outdated heating and cooling systems. By taking the initiative to perform this audit, you gain invaluable insight into your home’s energy performance, empowering you to make informed decisions that lead to a more comfortable, sustainable, and affordable living environment.
The benefits of conducting a DIY Home Energy Audit extend far beyond just saving money. You’ll also experience improved indoor air quality, enhanced comfort levels (no more drafty rooms!), increased home value, and the satisfaction of contributing to a healthier planet. So, grab your notepad, a flashlight, and let’s embark on this journey to transform your home into an energy-efficient sanctuary.
We’ll delve into each of the 7 crucial areas, providing practical tips, tools you might need, and actionable steps to take. Remember, consistency and attention to detail are key to a successful audit. Let’s get started!
1. The Building Envelope: Walls, Windows, and Doors
Your home’s building envelope is its first line of defense against the elements. It includes the exterior walls, roof, foundation, windows, and doors. Any breach in this envelope can lead to significant energy loss, making it a prime target for your DIY Home Energy Audit.
Identifying Air Leaks: The Silent Energy Thieves
Air leaks are often invisible but can account for a substantial portion of your heating and cooling costs. Conditioned air escaping through cracks and gaps means your HVAC system has to work harder to maintain desired temperatures.
- The Visual Inspection: Walk around the exterior and interior of your home. Look for visible cracks in foundations, gaps around window and door frames, utility penetrations (pipes, wires), and where different building materials meet.
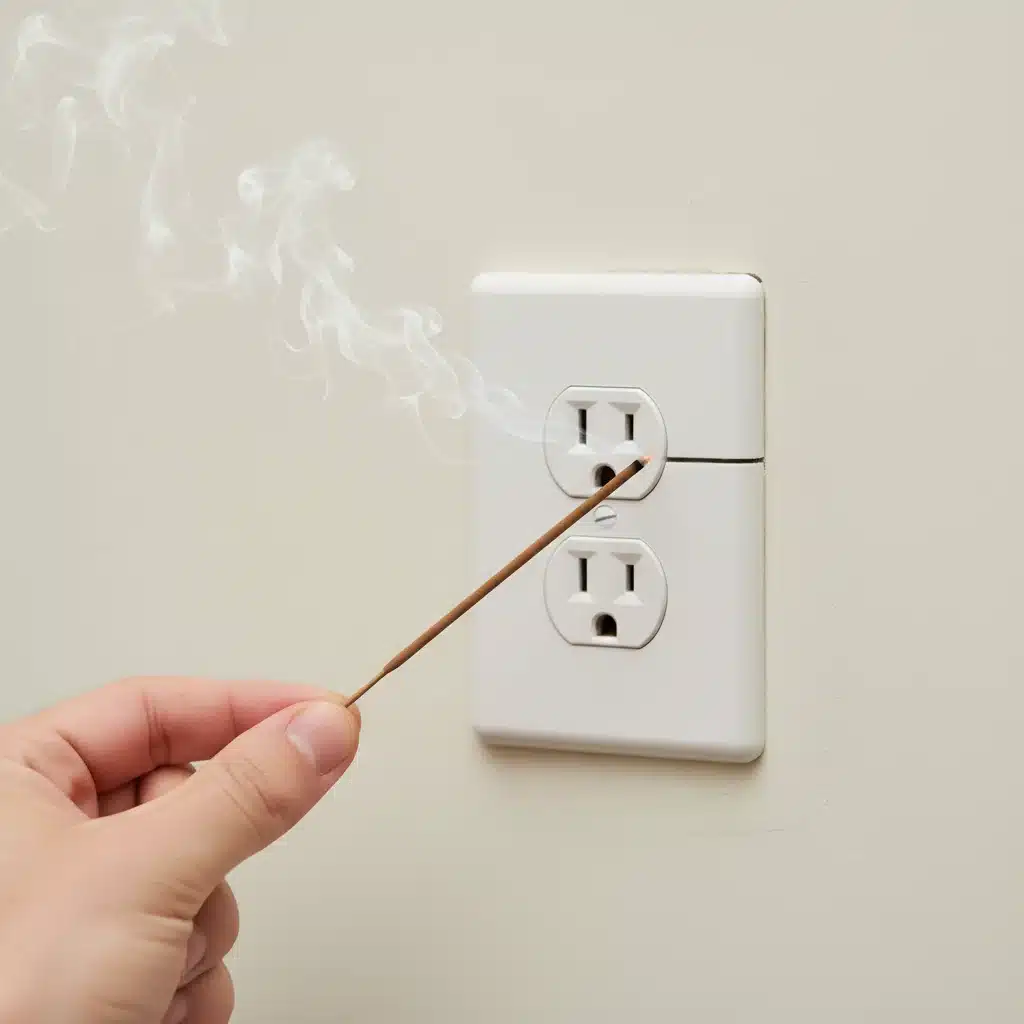
- The Smoke Test (Incense Stick Method): On a windy day, or with your HVAC fan running (to create a slight pressure difference), light an incense stick or a thin piece of tissue paper. Hold it near potential leak points: around windows and doors, electrical outlets, light switches, baseboards, attic hatches, and plumbing penetrations. If the smoke wavers or is drawn inward/outward, you’ve found an air leak.
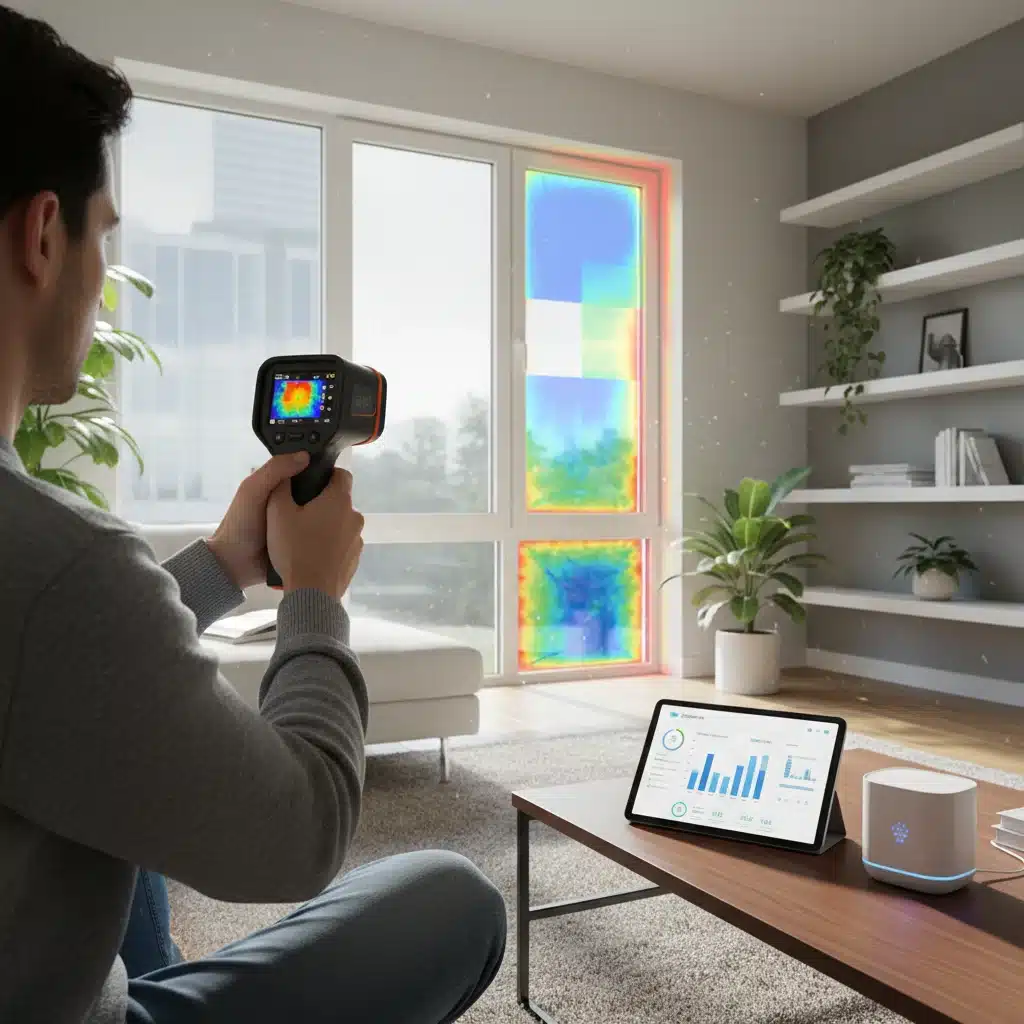
- Thermal Imaging (Optional but Highly Recommended): While a thermal camera might seem like a professional tool, affordable attachments for smartphones are readily available in 2026. These devices can visually show you temperature differences, highlighting cold spots (indicating air infiltration) or warm spots (indicating air exfiltration) that are otherwise invisible. This is an incredibly powerful tool for your DIY Home Energy Audit.
- Checking Weatherstripping and Caulking: Inspect the weatherstripping around all doors and operable windows. Is it brittle, cracked, or missing? Can you see daylight around the edges of a closed door or window? Similarly, check the caulk around window frames, door frames, and where different materials meet on the exterior.
Windows and Doors: Beyond Air Leaks
Even if sealed properly, old, single-pane windows and uninsulated doors can be major energy drains.
- Window Performance: Feel the glass on a cold day or a hot day. Does it feel significantly colder or hotter than the room’s ambient temperature? This indicates poor insulation. Consider upgrading to double or triple-pane windows with low-emissivity (Low-E) coatings if your budget allows. For a temporary fix, consider window film or heavy, insulated curtains.
- Door Insulation: Beyond weatherstripping, check the core of your doors. Older doors, especially hollow-core ones, offer little insulation. You might consider replacing them with insulated exterior doors.
Actionable Steps:
- Seal all identified air leaks with caulk (for stationary gaps) or weatherstripping (for moving parts like windows and doors).
- Install foam gaskets behind electrical outlet and light switch cover plates on exterior walls.
- Consider adding storm windows or heavy curtains for older, inefficient windows.
- Repair or replace damaged weatherstripping and caulk.
2. Insulation Levels: Your Home’s Thermal Blanket
Insulation acts as a thermal barrier, slowing down the transfer of heat into and out of your home. Adequate insulation is crucial for maintaining comfortable indoor temperatures and reducing the workload on your HVAC system. This is a cornerstone of any effective DIY Home Energy Audit.
Attic Insulation: The Low-Hanging Fruit
The attic is often the easiest and most cost-effective place to improve insulation. Heat rises, so a poorly insulated attic allows a significant amount of heat to escape in winter and seep in during summer.
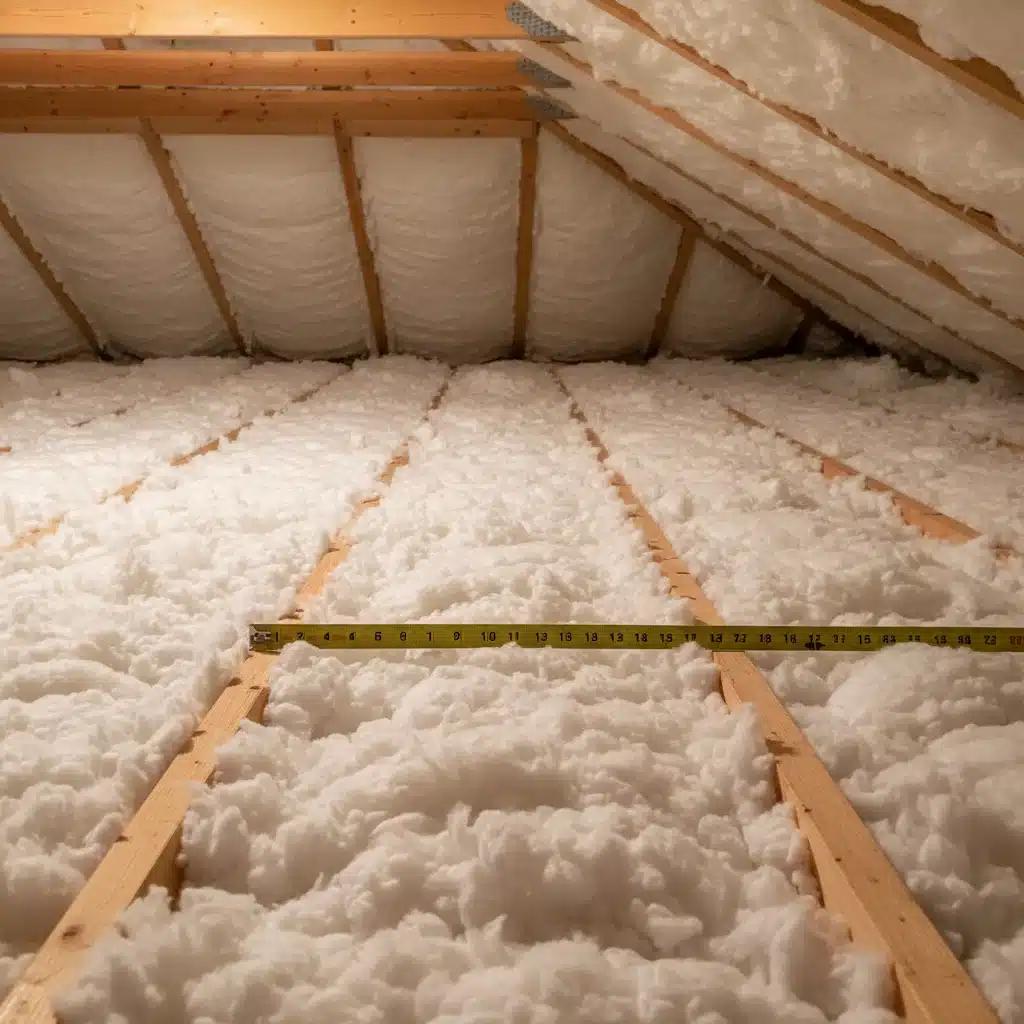
- Check the Depth: In most climates, recommended attic insulation levels are between R-38 and R-60 (approximately 12-24 inches of fiberglass or cellulose). Use a ruler or tape measure to check the depth of your existing insulation. If you can see the tops of the joists, you likely need more.
- Look for Gaps and Voids: Ensure insulation is evenly distributed, without gaps around light fixtures, exhaust fans, or plumbing stacks. These uninsulated areas are thermal bridges where heat can easily escape or enter.
- Attic Hatch/Stairway Insulation: Don’t forget to insulate and weatherstrip your attic access point. A simple foam board insulation panel cut to fit the hatch can make a big difference.
Wall and Floor Insulation
While often more challenging to access, assessing wall and floor insulation is also part of a thorough DIY Home Energy Audit.
- Wall Insulation: If your home was built before the 1980s, it might have little to no wall insulation. Feeling exterior walls on a very hot or cold day can give you a clue. If they feel significantly different from interior walls, it might indicate a lack of insulation. Professional assessment or drilling a small test hole (in an inconspicuous area) can confirm this.
- Floor/Crawl Space Insulation: For homes with crawl spaces or unheated basements, insulating the floor joists above these areas is critical. Look for insulation batts securely fitted between joists, with a vapor barrier facing the heated living space.
Actionable Steps:
- Add blown-in or batt insulation to your attic to reach recommended R-values.
- Seal and insulate your attic hatch or pull-down stairs.
- If accessible, insulate exposed ducts in unconditioned spaces like attics or crawl spaces.
3. Heating, Ventilation, and Air Conditioning (HVAC) Systems
Your HVAC system is likely the largest energy consumer in your home. Optimizing its performance is paramount for your DIY Home Energy Audit to yield significant savings.
Ductwork Inspection: The Hidden Leaks
Ducts distribute conditioned air throughout your home. Leaky or uninsulated ducts in unconditioned spaces (attics, crawl spaces, garages) can lead to substantial energy loss – sometimes as much as 20-30% of your HVAC system’s output.
- Visual Inspection: Access your attic, crawl space, and basement. Look for obvious gaps, disconnected sections, or tears in the ductwork.
- Feel for Leaks: With your HVAC fan running, carefully feel along duct seams and connections for escaping air.
- Insulation: Are your ducts in unconditioned spaces insulated? If not, they are losing heat in winter and gaining heat in summer, making your system work harder.
Thermostat Settings and Placement
Your thermostat dictates when and how much your HVAC system operates.
- Programmable/Smart Thermostat: Do you have one? If not, consider upgrading. These devices allow you to set schedules that align with your occupancy, automatically adjusting temperatures when you’re away or asleep.
- Placement: Is your thermostat located on an exterior wall, near a draft, or in direct sunlight? These factors can cause it to misread the indoor temperature, leading to inefficient cycling.
System Maintenance
A well-maintained system runs more efficiently.
- Filter Replacement: Check your air filter monthly and replace it every 1-3 months, or more frequently if you have pets or allergies. A dirty filter restricts airflow, forcing your system to work harder.
- Outdoor Unit Cleanliness: Ensure the outdoor condenser unit (for AC) is free of debris, leaves, and overgrown vegetation. Clean coils improve efficiency.
Actionable Steps:
- Seal leaky ductwork with mastic sealant or metal-backed tape (not duct tape, which degrades over time).
- Insulate uninsulated ducts in unconditioned spaces.
- Install a programmable or smart thermostat and program it for energy savings.
- Ensure your thermostat is located appropriately.
- Regularly change your HVAC air filter and keep outdoor units clean.
4. Water Heating: A Hidden Energy Hog
Heating water accounts for a significant portion of a typical household’s energy consumption. Optimizing your water heater’s efficiency is a crucial step in your DIY Home Energy Audit.
Water Heater Type and Age
The type and age of your water heater play a big role in its efficiency.
- Tank vs. Tankless: Traditional tank water heaters continuously heat and store water, leading to standby losses. Tankless (on-demand) water heaters only heat water when needed, which can be more efficient, especially for smaller households or those with variable hot water needs.
- Age: Water heaters generally last 10-15 years. If yours is older, its efficiency has likely declined, and it might be time to consider an upgrade.
Temperature Settings
Many water heaters are set to a default temperature that is hotter than necessary.
- Ideal Temperature: For most households, 120°F (49°C) is sufficient for comfort and sanitation, while also preventing scalding. Every 10°F reduction can save 3-5% on water heating costs.
Insulation and Leaks
Just like your home, your water heater can benefit from proper insulation.
- Tank Insulation: If your tank water heater feels warm to the touch, it’s losing heat. An insulating blanket or jacket can significantly reduce standby heat loss, especially for older tanks.
- Pipe Insulation: Insulating the first six feet of hot and cold water pipes connected to the water heater can reduce heat loss and speed up hot water delivery.
- Leaks: Check for any drips or leaks from the tank or connections, which can waste both water and energy.
Actionable Steps:
- Lower your water heater’s thermostat to 120°F (49°C).
- Insulate your hot water tank with an approved water heater blanket, especially if it’s an older model.
- Insulate the first 6 feet of hot and cold water pipes connected to the water heater.
- Repair any leaks immediately.
- Consider a tankless water heater or a heat pump water heater when it’s time for replacement.
5. Lighting: Bright Ideas for Savings
Lighting might not be the biggest energy consumer, but it’s one of the easiest areas to address during your DIY Home Energy Audit, offering quick returns on investment.
Bulb Types and Usage
The type of light bulb you use makes a significant difference in energy consumption.
- Incandescent vs. LED: Are you still using incandescent bulbs? They are highly inefficient, converting most of their energy into heat rather than light. LEDs (Light Emitting Diodes) are the gold standard for energy efficiency, using 75-80% less energy and lasting 25 times longer than incandescents.
- CFLs: Compact Fluorescent Lamps (CFLs) were an improvement over incandescents but contain mercury and are less efficient and long-lasting than LEDs.
- Usage Habits: Do you leave lights on in unoccupied rooms? Are outdoor lights on all night without a sensor?
Natural Light Utilization
Maximizing natural light reduces the need for artificial lighting.
- Daylighting: Assess how much natural light enters your home. Can you open curtains or blinds more often during the day? Are there any obstructions outside your windows blocking light?
Actionable Steps:
- Replace all incandescent and CFL bulbs with ENERGY STAR certified LED bulbs. Prioritize frequently used lights first.
- Install dimmers on lights where appropriate to reduce energy use and extend bulb life.
- Utilize natural light whenever possible by opening curtains and blinds.
- Install motion sensors or timers for outdoor lighting and in low-traffic areas like pantries or garages.
6. Appliances and Electronics: The Phantom Drain
Modern homes are filled with appliances and electronics, many of which consume energy even when turned off or in standby mode (known as "phantom load" or "vampire drain"). This area is a crucial part of your DIY Home Energy Audit.
Identifying Energy Hogs
Some appliances are naturally more energy-intensive than others.
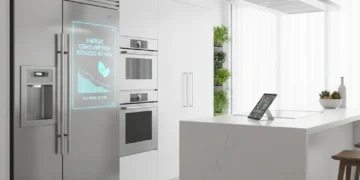
- Refrigerators/Freezers: These run 24/7. Older models, especially those from before 2000, can be significant energy users. Check the door seals by closing the door on a dollar bill – if it slides out easily, the seal is weak.
- Washing Machines and Dryers: Look for ENERGY STAR ratings. Using cold water for laundry significantly reduces energy consumption.
- Dishwashers: Again, look for ENERGY STAR. Air-drying dishes instead of using the heated dry cycle saves energy.
- Electronics: TVs, computers, gaming consoles, chargers, and modems all draw power even when "off."
Using a Kill-A-Watt Meter
A Kill-A-Watt meter (or similar energy monitoring device) is an invaluable tool for your DIY Home Energy Audit. You plug an appliance into it, and it tells you exactly how much electricity that appliance is consuming.
- Measure Phantom Loads: Use the meter to identify which electronics are drawing power in standby mode.
- Measure Active Use: Understand the real-time energy consumption of your appliances during operation.
Actionable Steps:
- Unplug electronics when not in use or plug them into smart power strips that cut power to devices in standby mode.
- Ensure refrigerator and freezer door seals are tight. Keep coils clean.
- Run washing machines and dishwashers only when full, and use cold water for laundry when possible.
- Consider upgrading old, inefficient appliances to ENERGY STAR certified models when they reach the end of their lifespan.
- Use a Kill-A-Watt meter to identify your biggest energy-consuming appliances and phantom loads.
7. Renewable Energy Potential and Smart Home Integration
While the first six areas focus on reducing consumption, this final section of your DIY Home Energy Audit looks at generating your own energy and making your home smarter to manage energy more efficiently.
Assessing Solar Potential
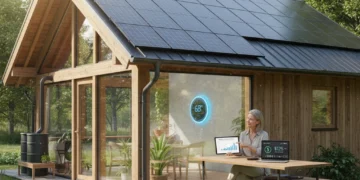
Solar energy is becoming increasingly accessible and affordable. Could your home be a candidate for solar panels?
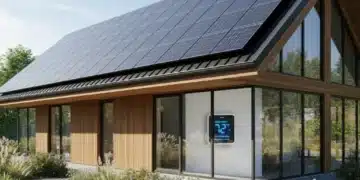
- Roof Orientation and Shading: Ideally, your roof should face south (in the Northern Hemisphere) and have minimal shading from trees or other buildings throughout the day.
- Roof Condition and Size: Is your roof in good condition? Is there enough usable space for a significant number of panels?
- Local Incentives: Research local, state, and federal incentives, tax credits, and rebates for solar installations.
Smart Home Energy Management
Smart home devices can provide unprecedented control and insight into your energy usage.
- Smart Thermostats: (Already mentioned, but worth reiterating here for integration) These learn your habits and can be controlled remotely.
- Smart Lighting: Control lights from your phone, set schedules, and integrate with motion sensors.
- Smart Plugs: Turn any "dumb" appliance into a smart one, allowing you to remotely control power and monitor energy usage.
- Home Energy Monitors: These devices connect to your electrical panel and provide real-time data on your entire home’s energy consumption, often broken down by circuit. This is the ultimate tool for understanding your energy profile after your initial DIY Home Energy Audit.
Actionable Steps:
- Use online tools (e.g., Google Project Sunroof) to estimate your home’s solar potential.
- Consult with reputable solar installers for a professional assessment and quote.
- Invest in smart plugs for high-phantom-load devices.
- Consider a whole-home energy monitoring system to track your progress and identify further savings.
Putting Your DIY Home Energy Audit into Action
After completing your thorough DIY Home Energy Audit, you’ll likely have a list of potential improvements, ranging from simple fixes to larger investments. Here’s how to prioritize and proceed:
Prioritize and Plan
Not all improvements are created equal. Focus on those with the highest return on investment (ROI) and those that address the biggest energy drains first.
- Low-Cost/High-Impact: Sealing air leaks with caulk and weatherstripping, adding insulation to your attic, changing light bulbs to LEDs, and lowering your water heater temperature are often the quickest and most affordable ways to see significant savings.
- Medium-Cost/Medium-Impact: Upgrading to a programmable thermostat, insulating ducts, or adding window films might fall into this category.
- High-Cost/High-Impact: Replacing old windows, upgrading HVAC systems, or installing solar panels are larger investments that offer substantial long-term savings but require careful financial planning.
Track Your Progress
The best way to know if your efforts are paying off is to track your energy consumption. Many utility companies offer online portals where you can monitor your usage over time. Compare your bills before and after implementing changes to see the tangible results of your DIY Home Energy Audit.
Consider Professional Help for Complex Issues
While a DIY audit is powerful, some issues might require professional expertise. If you suspect major insulation problems, significant HVAC issues, or are considering large-scale renewable energy installations, don’t hesitate to consult certified energy auditors or contractors. They can perform more advanced tests, like blower door tests, to pinpoint hidden leaks and provide precise recommendations.
Conclusion: Empowering Your Energy-Efficient Future
Conducting a DIY Home Energy Audit in 2026 is an incredibly empowering step towards taking control of your home’s energy consumption. By systematically inspecting these 7 key areas – the building envelope, insulation, HVAC, water heating, lighting, appliances, and renewable energy potential – you gain a deep understanding of where your energy dollars are going.
The journey to an energy-efficient home is ongoing. Regular maintenance, continued vigilance for new inefficiencies, and staying informed about new technologies will ensure your home remains a comfortable, cost-effective, and environmentally friendly place to live. Start your audit today, and unlock the significant savings and benefits that await!